
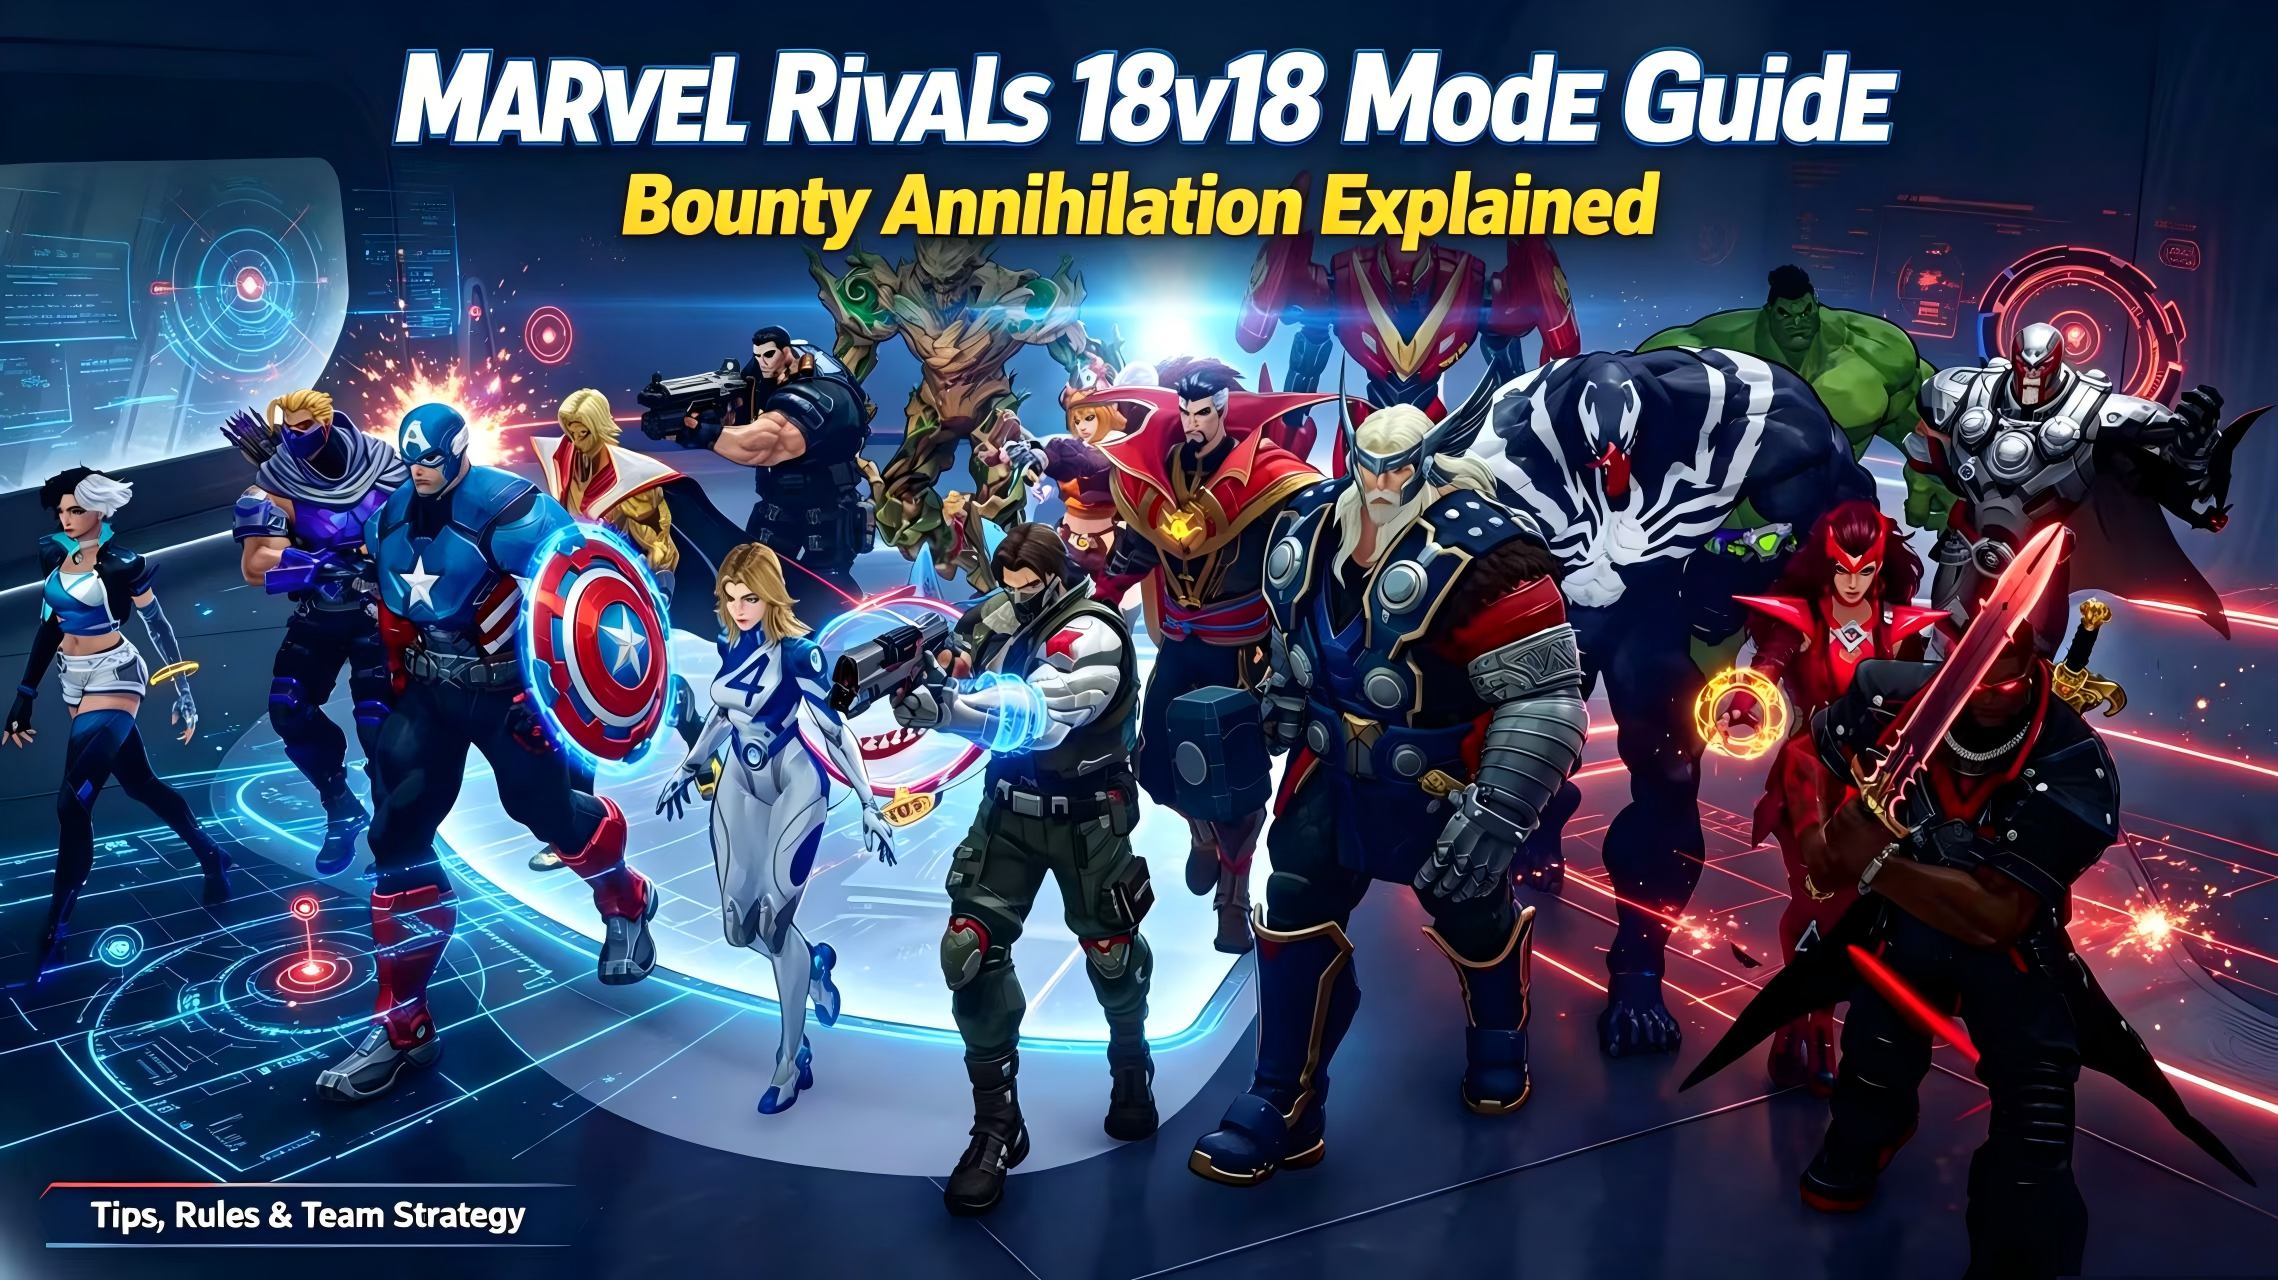
Marvel Rivals 18v18 Mode Guide: Bounty Annihilation Explained
Top Up Marvel Rivals Lattice on Topuplist
Looking to purchase Marvel Rivals Lattice for Battle Passes, costumes, emotes, and other premium content? Visit the Topuplist Marvel Rivals top-up page to view the currently available packages and payment options.
Select your package, enter the required account information carefully, and confirm that your Marvel Rivals User ID is correct before completing payment. Prices and package availability may vary by region.
Bounty Annihilation brings Marvel Rivals battles to a much larger scale, placing two teams of 18 players on the K’un-Lun: Shenloong Arena map.
However, this is not simply a 36-player team deathmatch. Eliminations contribute to the score, but teams must also capture and hold rotating Mission Areas to earn a much larger supply of points.
Winning consistently requires objective control, organized rotations, sensible respawn choices, balanced hero selection, and fewer unnecessary deaths.
This Marvel Rivals 18v18 Bounty Annihilation guide explains the complete scoring system, Mission Area rules, respawn mechanics, recommended heroes, team composition, map strategies, and common mistakes.
Bounty Annihilation and Shenloong Arena officially launched with the Marvel Rivals Season 8.5 update on June 12, 2026. You can read the original announcement in the official Season 8.5 patch notes.
What Is Bounty Annihilation in Marvel Rivals?
Bounty Annihilation is an 18-versus-18 Arcade mode played on K’un-Lun: Shenloong Arena.
Both teams earn points through two activities:
Scoring Final Hits against enemy players
Capturing and controlling the active Mission Area
The first team to reach 300 points wins.
There are three Mission Areas—A, B, and C—but only one is active at a time. Each area contains a limited pool of objective points. Once that pool has been exhausted, the battle moves to the next area.
Duplicate hero selection is also permitted, which means a team can field several copies of the same Vanguard, Duelist, or Strategist.
The combination of 36 players, unrestricted hero selection, rotating objectives, and frequent Ultimate Abilities makes the mode considerably more chaotic than standard 6v6 matches.
Bounty Annihilation Rules at a Glance
The current rules list eliminations, rotating Mission Areas, 100 points per area, selectable respawns, duplicate heroes, and a 300-point victory target. A detailed rule summary is available on the Marvel Rivals Wiki Bounty Annihilation page.
How Scoring Works in Bounty Annihilation
The scoring system rewards both combat performance and objective control.
A team that ignores eliminations will struggle to clear the objective. A team that ignores Mission Areas may win numerous fights but still fall behind in total points.
Elimination Points
Every Final Hit awards one point to the scoring team.
This distinction matters because dealing the most damage does not necessarily secure the point. The player who lands the Final Hit receives the elimination credit for the team.
Self-eliminations also award a point to the opposing team.
That makes careless deaths particularly damaging. Falling off the map, entering an unwinnable fight alone, or repeatedly rushing into 18 enemies does more than delay your return—it directly increases the opponent’s score.
Mission Area Points
Each Mission Area contains 100 available points.
Once a team establishes control, it steadily claims points from that area’s remaining supply. When all 100 points have been distributed, the area becomes inactive and the next Mission Area opens.
Mission Area control is therefore the most reliable source of sustained scoring.
How Teams Reach 300 Points
The three Mission Areas contain 300 objective points in total, but a team does not need to claim every area completely.
Elimination points are added to the same score. A team that combines strong objective control with a clear KO advantage can reach 300 before the final Mission Area has been fully exhausted.
How Mission Areas Work
Mission Areas are the central mechanic separating Bounty Annihilation from a conventional team-deathmatch mode.
Capturing an Uncontrolled Mission Area
To establish initial control, at least one teammate must stand inside the active Mission Area without an enemy contesting the capture.
If both teams are present during the initial capture attempt, progress stops until one side clears the opposing players from the area.
This makes the opening fight at each new objective extremely important. The team that wins the first engagement can begin collecting points while establishing defensive positions around the area.
Contesting a Captured Area
After a Mission Area has been captured, simply entering the circle does not necessarily stop the controlling team from earning points.
The attacking team must take control away from the defenders. Sending one fast hero into the objective for a few seconds is unlikely to be enough if the rest of the enemy team remains established around it.
A successful retake usually requires:
Clearing defensive Ultimates and barriers
Removing or displacing the enemy Vanguards
Pressuring enemy Strategists
Placing enough teammates inside the area
Securing the surrounding entrances and high ground
Treating a captured Mission Area like a standard overtime touch point is one of the most common mistakes in the mode.
Mission Area Rotation Order
The areas follow one of two sequences:
A → B → C
C → B → A
Mission Area B is always the middle stage.
As soon as the first objective is identified, players can predict the complete rotation direction for the rest of the match.
This allows organized teams to prepare early instead of waiting for the current area to close.
When to Rotate to the Next Area
Do not wait until the current Mission Area reaches zero before everyone starts moving.
When only a small number of points remain, divide the team into two groups:
A smaller group remains behind to secure the final points.
A faster rotation group moves toward the next objective.
The rotation group should prioritize:
High ground
Major entrances
Natural cover
Routes used by enemy Strategists
Safe positions for ranged heroes
Sending all 18 players early can surrender the remaining objective points. Keeping all 18 players behind can allow the enemy to establish complete control of the next area.
K’un-Lun: Shenloong Arena Explained
Shenloong Arena was designed for the large-scale Bounty Annihilation format.
Its layout supports rotating fights across three major objective sections, with several routes connecting each stage.
The map includes:
Elevated firing positions
Narrow entrances
Open central spaces
Side routes for flankers
Cover surrounding Mission Areas
Multiple selectable respawn paths
Areas suitable for large Ultimate combinations
The official Bounty Annihilation trailer provides a visual introduction to the scale and structure of the mode. Players can watch the official 18v18 Bounty Annihilation trailer before entering the map.
Control the Space Around the Objective
Holding the Mission Area does not mean all 18 players should stand inside it.
Packing the entire team into one small space makes everyone vulnerable to:
Area-damage Ultimates
Mass crowd control
Piercing or bouncing attacks
Environmental displacement
Large healing-denial effects
A stronger setup spreads the team across several layers.
Vanguards should control entrances and the edge of the objective. Duelists should occupy high ground and crossfire angles. Strategists should remain behind cover while maintaining healing lines.
Watch the Side Routes
Shenloong Arena provides enough space for flying heroes, mobile Duelists, and coordinated flank groups to bypass the main frontline.
A team focused entirely on the central entrance may lose its Strategists before the objective fight begins.
Assigning several players to monitor side routes is especially important when the opposing team uses multiple copies of the same mobile hero.
How Respawning Works
Bounty Annihilation allows players to choose between three respawn locations within each map section.
This feature reduces travel time, but only when the correct spawn is selected.
Best Respawn Choice for Defending
Select a spawn that:
Reaches the active Mission Area quickly
Connects to your team’s defensive position
Does not force you through enemy-controlled ground
Provides cover during the approach
The geographically closest spawn is not always the safest option.
Best Respawn Choice for Attacking
When your team is attempting a retake, choose the spawn used by the largest group of nearby allies.
An isolated flanking spawn may appear attractive, but entering alone will usually result in another quick death and another point for the enemy.
Best Respawn Choice During Rotation
When the current Mission Area is almost empty, choose the spawn closest to the next objective.
This can help your team establish high ground and entrance control before the opposing team arrives.
Avoid Staggered Respawns
A stagger occurs when players enter the fight one at a time instead of regrouping.
In Bounty Annihilation, staggering is especially costly because:
The opposing team may have up to 18 players nearby.
Each isolated death awards another elimination point.
Your team never reaches full fighting strength.
Enemy Ultimates continue charging against easy targets.
The Mission Area keeps providing points to the defenders.
Waiting several seconds for nearby teammates is usually better than immediately rushing into a lost objective.
Best Heroes for Bounty Annihilation
The best Bounty Annihilation heroes generally have abilities that scale well when many players occupy the same area.
Area damage, mass healing, barriers, crowd control, mobility, and zone denial become more valuable when there are 18 possible teammates or targets.
These recommendations are based on how each hero’s toolkit functions in large engagements rather than a fixed competitive tier list.
Balance updates, player skill, duplicate selections, and the current Mission Area can all change which hero is most useful.
Best Vanguards
Vanguards are essential because they create safe space around Mission Areas.
Strong options generally provide at least one of the following:
Large barriers
Area denial
Knockback or displacement
Crowd control
High durability
Protection for nearby Strategists
Doctor Strange and Magneto can help protect large groups from incoming ranged pressure. Groot can reshape entrances and restrict movement. Emma Frost provides frontline durability and control.
A team with too few Vanguards may reach the objective but struggle to remain there.
Best Duelists
Duelists should focus on more than personal damage totals.
The most valuable Duelists can:
Finish weakened targets
Threaten grouped enemies
Pressure enemy Strategists
Attack from high ground
Cover multiple entrances
Survive without consuming constant healing
Storm, Iron Man, Moon Knight, Phoenix, and The Punisher can apply pressure across crowded battlefields.
Mobile flankers remain useful, but they should attack the enemy backline with a clear escape route instead of diving into 18 opponents alone.
Best Strategists
Strategists are among the most important heroes in Bounty Annihilation.
With so many players receiving damage simultaneously, healing one target at a time may not be enough. Group healing, defensive Ultimates, resurrection effects, and area protection become particularly valuable.
Strategists should avoid standing together in one cluster. A single enemy Ultimate can otherwise remove most of the team’s healing at once.
Use at least two support positions:
Main-group Strategists behind the Vanguards
Secondary Strategists supporting flankers or rotation groups
Are Duplicate Heroes Worth Using?
Duplicate hero selection allows teams to build unusual combinations unavailable in standard modes.
Potential advantages include:
Stacking barriers
Chaining area-healing abilities
Repeating the same crowd-control effect
Maintaining constant ranged pressure
Using several copies of a strong mobility hero
Rotating similar Ultimates across multiple fights
However, excessive duplication also creates weaknesses.
For example, a team composed primarily of ranged Duelists may lack objective durability. A team with many melee heroes may struggle to reach elevated opponents. Several identical Strategists may provide strong healing but limited defensive variety.
Duplicate heroes work best when they support a clear strategy rather than appearing because every player independently selected the same popular character.
Recommended 18v18 Team Structure
There is no mandatory role queue, but a balanced team should contain enough heroes to perform three separate tasks:
Hold the Mission Area
Pressure side routes and enemy Strategists
Rotate toward the next objective
A practical distribution is approximately:
4–6 Vanguards
6–8 Duelists
4–6 Strategists
The precise ratio should change according to the team’s hero choices and the current stage of the map.
Main Objective Group
The largest group should remain near the active Mission Area.
It should include:
Most of the Vanguards
Several close- and mid-range Duelists
Multiple Strategists
Heroes with defensive or area-control Ultimates
This group captures, defends, and retakes the objective.
Flank Group
A smaller group should control side routes and pressure the enemy backline.
Its priorities are:
Enemy Strategists
Unprotected ranged Duelists
High-ground positions
Respawn approach routes
Heroes preparing large Ultimates
The flank group should not chase enemies so far that it becomes disconnected from the active objective.
Rotation Group
When an area is nearly exhausted, mobile heroes should begin moving toward the next Mission Area.
Their job is to:
Identify enemy rotations
Secure high ground
Control key entrances
Delay the opposing team
Create a safe arrival route for the main group
How to Win Bounty Annihilation
Prioritize the Active Mission Area
Mission Area points accumulate consistently and can outweigh several individual eliminations.
Fighting far away from the active objective only makes sense when the fight controls an important entrance, removes enemy Strategists, or prevents a rotation.
Do not chase a low-health opponent across the map while the enemy continues collecting objective points.
Control Entrances Instead of Stacking on the Point
The objective itself is only one part of the defensive position.
Hold the routes enemies must use to reach it.
A strong defense may include:
Vanguards at the main entrances
Ranged Duelists on elevated positions
Strategists behind natural cover
Mobile heroes watching side routes
One or two players remaining inside the Mission Area
This formation forces the enemy to fight through several defensive layers.
Focus Enemy Strategists
Attacking Vanguards without disrupting their healing often produces impressive damage numbers but few eliminations.
Coordinate pressure against Strategists whenever possible.
Flying heroes, flankers, long-range Duelists, and displacement abilities can force enemy supports out of safe positions.
Once the healing line collapses, the objective becomes much easier to retake.
Avoid Feeding Elimination Points
Every death increases the enemy score.
Do not enter alone when:
Most teammates are still respawning
The objective has already been completely lost
Enemy Ultimates are active
Your Strategists cannot see you
You have no escape ability
The next Mission Area is about to open
Regrouping may sacrifice several objective points, but repeated isolated deaths can cost considerably more.
Rotate Ultimate Abilities
With 36 heroes in one match, multiple Ultimates may be available during every major fight.
Using all of them simultaneously often wastes resources.
Divide Ultimates into three categories:
Engagement Ultimates: Begin the fight or force the enemy to move.
Counter-Ultimates: Protect teammates from enemy abilities.
Cleanup Ultimates: Secure eliminations after defensive resources are gone.
After winning a fight, preserve several Ultimates for the enemy’s next respawn wave or the following Mission Area.
Use Crossfire
Attacking from one direction allows the defending team to place barriers and crowd control at a single entrance.
Crossfire forces enemies to defend multiple angles.
One group can pressure the main entrance while another attacks from high ground or a side route. This divides healing, weakens barrier placement, and exposes Strategists.
Strategies for Each Mission Area Phase
First Mission Area
At the beginning of the match:
Identify whether A or C is active.
Move directly toward the objective.
Avoid unnecessary fights during the approach.
Secure nearby high ground.
Establish control before chasing eliminations.
Note the direction of the complete area rotation.
Because few players will have Ultimates immediately, basic positioning and hero composition matter most during the opening fight.
Middle Mission Area
Mission Area B is always second.
Both teams now understand the rotation and will usually arrive with several Ultimates available.
During this stage:
Avoid entering through only one route.
Keep Strategists separated.
Save defensive Ultimates for large enemy combinations.
Position ranged heroes before the area activates.
Monitor players attempting to remain behind the team after the rotation.
The middle stage often produces the largest and longest team fights.
Final Mission Area
By the final area, both teams may already be close to 300 points.
Elimination points become increasingly important because a small number of Final Hits may end the match before the remaining objective points are claimed.
When leading:
Reduce unnecessary risks.
Maintain a defensive formation.
Avoid chasing.
Protect low-health teammates.
Preserve escape abilities.
When trailing:
Coordinate a complete team fight.
Pressure enemy Strategists.
Contest multiple entrances.
Use Ultimates in a planned sequence.
Avoid entering in separate respawn waves.
Bounty Annihilation vs Regular 18v18 Annihilation
Bounty Annihilation is not identical to the earlier 18v18 Annihilation format.
The major difference is objective structure.
Regular Annihilation focuses primarily on eliminations. Bounty Annihilation adds rotating Mission Areas that continuously produce points and force both teams to move across the map.
This changes the optimal strategy.
In regular Annihilation, controlling safe firing angles and avoiding deaths are the primary concerns. In Bounty Annihilation, teams must also manage objective timing, area rotations, defensive formations, and selectable respawn routes.
Players who treat Bounty Annihilation as pure team deathmatch may finish with many eliminations while still losing the match.
Common Bounty Annihilation Mistakes
Ignoring the Mission Area
Eliminations matter, but fighting far from the objective can give the enemy dozens of uncontested points.
Stacking All 18 Players Together
Grouping too tightly makes the entire team vulnerable to area damage and mass crowd control.
Rotating Too Late
Waiting for an objective to disappear before moving allows the enemy to control the next area first.
Rotating Everyone Too Early
Abandoning the current area can give the opponent its remaining points for free.
Choosing the Wrong Respawn Point
A short but enemy-controlled route is often worse than a slightly longer route used by several teammates.
Entering One at a Time
Staggered attacks produce easy Final Hits for the enemy and prevent your team from organizing a complete fight.
Selecting Too Many Duelists
Damage alone cannot hold a Mission Area. Teams still need frontline protection and reliable healing.
Chasing Low-Health Enemies
Leaving the objective to secure one elimination may expose Strategists or surrender valuable positioning.
Using Every Ultimate Together
Excessive Ultimate usage may win one fight but leave the team defenseless against the next wave.
Ignoring High Ground
Uncontested ranged heroes can continuously pressure the objective while remaining difficult for melee-heavy teams to reach.
Is Bounty Annihilation Available on Xbox Series S?
Yes.
When Bounty Annihilation launched on June 12, 2026, Shenloong Arena was temporarily unavailable on Xbox Series S because of performance limitations.
However, NetEase completed the required optimization and enabled the mode on Xbox Series S with the June 25, 2026 update. The current platform status is confirmed in the official June 25 patch notes.
Players should therefore avoid relying on older launch-day articles that still describe the mode as unavailable on Series S.
Performance Tips for 36-Player Battles
Large fights can produce significantly more effects than standard 6v6 matches.
To improve visibility and performance:
Prioritize stable frame rate over maximum visual quality.
Lower demanding shadow and effects settings when necessary.
Use an appropriate upscaling option on supported hardware.
Close unnecessary background applications.
Keep important ability effects visible.
Reduce visual clutter without hiding enemy Ultimate indicators.
Update graphics drivers and console software.
Avoid lowering settings so aggressively that barriers, hostile area effects, and Ultimate warnings become difficult to identify.
Is Bounty Annihilation a Permanent Mode?
Bounty Annihilation launched as an Arcade mode with Season 8.5.
The original announcement introduced it as a new game mode and map rather than publishing a specific removal date. However, Arcade availability and matchmaking playlists can change between updates.
Players should check:
The in-game Arcade menu
Current Marvel Rivals patch notes
Official Marvel Rivals social channels
The current season event interface
Do not rely on an older guide to determine whether the playlist is currently active.
Marvel Rivals Bounty Annihilation FAQ
How Many Players Are in Bounty Annihilation?
Bounty Annihilation features two teams of 18 players, creating a total of 36 players in each match.
How Many Points Are Needed to Win?
The first team to reach 300 total points wins.
How Much Is an Elimination Worth?
Each Final Hit adds one point to the team score. A self-elimination awards one point to the opposing team.
How Many Mission Areas Are There?
There are three Mission Areas: A, B, and C. Only one is active at a time.
How Many Points Does Each Mission Area Provide?
Each Mission Area contains 100 available points.
What Order Do Mission Areas Follow?
The rotation is either A → B → C or C → B → A. Mission Area B is always second.
Can Teams Select Duplicate Heroes?
Yes. Bounty Annihilation allows multiple players on the same team to select the same hero.
Can Players Choose Their Respawn Location?
Yes. Players can select from three respawn locations within each section of Shenloong Arena.
What Map Is Used for Bounty Annihilation?
The mode is played on K’un-Lun: Shenloong Arena.
Is Bounty Annihilation Available on Xbox Series S?
Yes. It was temporarily unavailable at launch, but Xbox Series S support was added on June 25, 2026.
Is Bounty Annihilation a Ranked Mode?
No. It is an Arcade mode and does not use the standard Competitive ranking system.
What Are the Best Heroes for Bounty Annihilation?
Heroes with area damage, group healing, barriers, mobility, crowd control, and zone-denial abilities generally perform well. The best choice also depends on your team’s existing role balance.
Final Verdict
Bounty Annihilation expands Marvel Rivals into a large-scale objective battle where individual mechanical skill is only one part of winning.
The strongest teams understand that eliminations, Mission Area control, respawn choices, rotations, and survival all contribute to the same 300-point objective.
To improve your win rate:
Fight around the active Mission Area.
Control entrances and high ground.
Maintain a balanced role distribution.
Pressure enemy Strategists.
Avoid isolated deaths.
Rotate before the next area opens.
Coordinate rather than stack Ultimate Abilities.
Select respawn points with your team.
Players who approach Bounty Annihilation as an organized objective mode will consistently outperform teams that treat its 36-player battles as uncontrolled team deathmatch.
