


Genshin Impact 7.0 Elemental Reactions: All 17 Types and Their Current Strength
Elemental reactions have always been the center of Genshin Impact's combat system. A character's real value often depends not only on personal multipliers, but also on how consistently a team can apply elements, control reaction ownership and benefit from specialized supports. By Version 7.0, the original reaction system has expanded through Dendro, Lunar reactions and Snezhnaya's Stellar reactions, creating a much wider gap between the best-supported and least-supported mechanics. Travelers planning teams can save Primogems around the reaction cores they actually need; players who later choose to purchase Genesis Crystals can use Topuplist and its Genshin Impact top-up page.
 Genshin Impact
This article uses 17 categories rather than counting every named sub-reaction separately. Bloom, Hyperbloom and Burgeon share one category, while Quicken, Aggravate and Spread share another. The ratings describe current team value at ordinary investment, including available characters, artifacts and endgame support. They are not permanent properties of the reactions: one new support can change a low or medium category dramatically.
No. | Reaction category | Elements | Current rating |
|---|---|---|---|
1 | Vaporize | Hydro + Pyro | High |
2 | Melt | Pyro + Cryo | High |
3 | Crystallize | Geo + Pyro/Hydro/Electro/Cryo | Low |
4 | Overloaded | Pyro + Electro | High |
5 | Superconduct | Cryo + Electro | Low |
6 | Swirl | Anemo + Pyro/Hydro/Electro/Cryo | Medium |
7 | Electro-Charged | Hydro + Electro | Medium |
8 | Frozen | Hydro + Cryo | Medium |
9 | Shattered | Frozen + blunt/Geo hit | Low |
10 | Bloom / Hyperbloom / Burgeon | Hydro + Dendro, then Electro or Pyro | Medium |
11 | Quicken / Aggravate / Spread | Dendro + Electro | Medium |
12 | Burning | Dendro + Pyro | Low |
13 | Lunar-Charged | Hydro + Electro with eligible units | High |
14 | Lunar-Bloom | Hydro + Dendro with eligible units | High |
15 | Lunar-Crystallize | Hydro + Geo with eligible units | High |
16 | Stellar-Superconduct | Cryo + Electro with Stellar Wedge units | High |
17 | Stellar-Swirl | Anemo + Cryo with Stellar Wedge units | High |
1. Vaporize — High
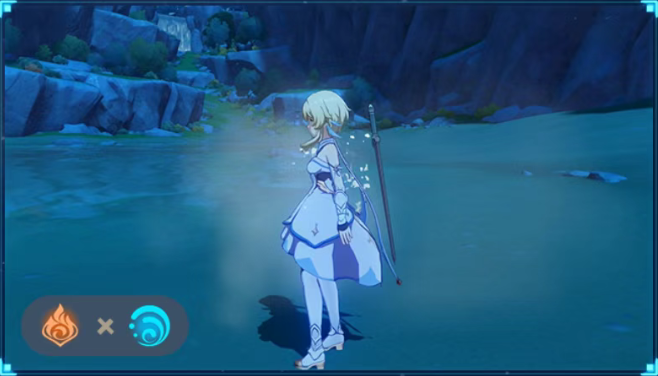
Vaporize is an amplifying reaction whose final value depends on the triggering hit, reaction multiplier and the trigger character's Elemental Mastery. Hydro applied to Pyro uses the 2x forward multiplier, while Pyro applied to Hydro uses the 1.5x reverse multiplier. In practice, reverse Vaporize is often easier to repeat because Hydro auras can support multiple Pyro hits.
The reaction remains one of the safest traditional damage engines. Arlecchino, Mualani, Hu Tao and Tartaglia all use Vaporize in different ways, from concentrated nukes to repeated rotations. Its strength comes from multiplying an already powerful attack rather than replacing that attack with fixed reaction damage.
2. Melt — High
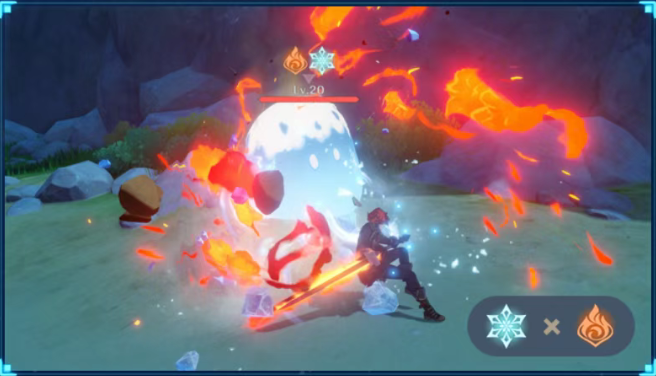
Melt follows the same amplifying logic. Pyro triggering on Cryo receives the 2x forward multiplier, while Cryo triggering on Pyro receives 1.5x. Mavuika, Arlecchino, Wriothesley and Ganyu represent several successful approaches, although maintaining the correct aura can be more demanding than simply listing the theoretical multiplier.
Melt stays in the high tier because it converts strong character scaling into even larger critical hits. Its limitation is consistency: multi-hit attacks, aura consumption and enemy movement can prevent every important hit from reacting. Teams that solve application and rotation timing still gain an excellent ceiling.
3. Crystallize — Low
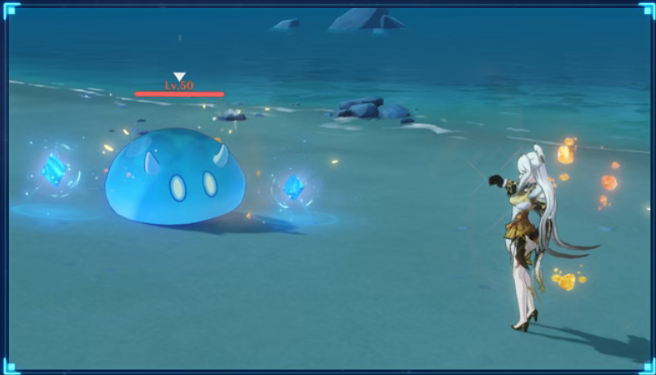
Traditional Crystallize occurs when Geo meets Pyro, Hydro, Electro or Cryo. It creates an elemental shard that must be collected to gain a shield and deals no reaction damage. The shield is usually too thin to replace a dedicated sustain character, while manually collecting shards adds another inconvenience.
Archaic Petra can turn shard collection into an elemental damage bonus, but the activation process is awkward enough that many teams prefer newer support sets. Crystallize is useful as a trigger for certain Geo kits, yet the base reaction itself remains one of the least rewarding launch-era designs.
4. Overloaded — High
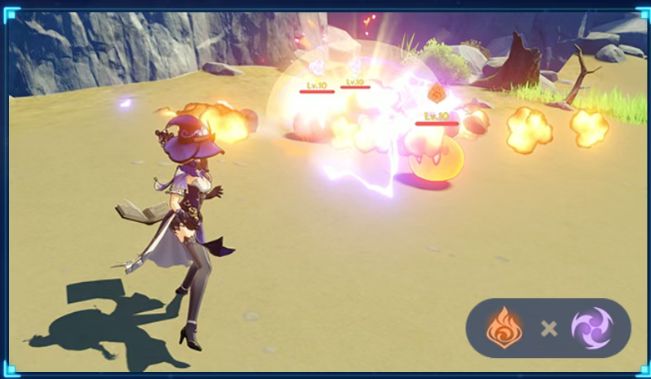
Overloaded is a transformative Pyro–Electro reaction that deals explosive damage, applies meaningful stagger and can knock smaller enemies away. That displacement once made the reaction inconvenient for melee teams, while its own damage was rarely enough to justify building around it.
Chevreuse changed its status by giving Pyro–Electro teams the resistance reduction and buffs needed to function as a real archetype. Mavuika, Durin and other strong Pyro options add stable damage and application. Modern Overloaded teams are strong because their characters and dedicated support are strong together, not because the reaction's original explosion suddenly became dominant.
5. Superconduct — Low
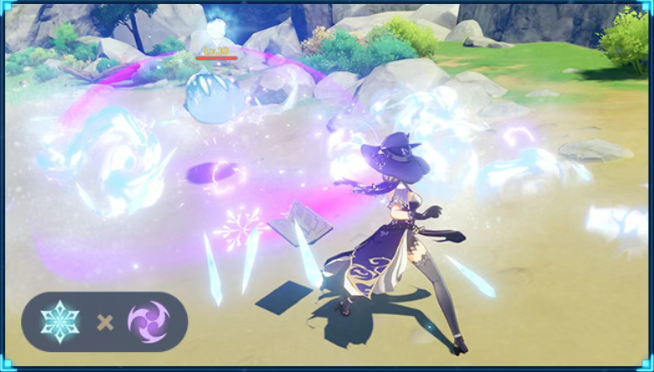
Superconduct occurs between Cryo and Electro, dealing low Cryo area damage and reducing Physical RES. Its purpose has always been enabling Physical carries rather than contributing meaningful reaction damage. That niche becomes a weakness when the roster contains few competitive Physical attackers.
For a Physical team, Superconduct still performs its intended job. Across the full Version 7.0 meta, however, spending two elemental slots to support an underrepresented damage type is difficult to justify. The arrival of Stellar-Superconduct further highlights how little the original reaction offers beyond resistance reduction.
6. Swirl — Medium
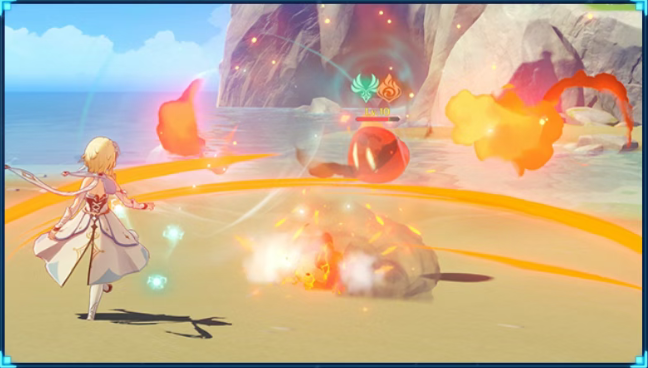
Swirl is triggered when Anemo interacts with Pyro, Hydro, Electro or Cryo. It is a transformative reaction whose damage scales with the trigger's level and Elemental Mastery, and it can spread the absorbed element to nearby enemies. Multi-target situations allow overlapping Swirls to become much more valuable than single-target calculations suggest.
Much of Swirl's practical power comes from the Viridescent Venerer artifact set, which reduces resistance to the Swirled element. The reaction's personal damage is not always exceptional, but its ability to spread auras and activate one of the game's best support effects keeps it firmly in the middle tier.
7. Electro-Charged — Medium
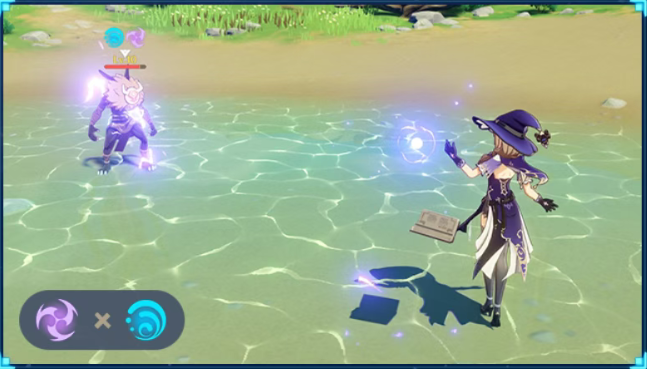
Electro-Charged occurs between Hydro and Electro and deals transformative damage over time. Because both auras can coexist briefly, the reaction supports busy multi-element teams and performs best against groups. Kokomi and Sucrose “taser” teams once used this interaction to control crowds with frequent chained damage.
Rising enemy HP gradually reduced the importance of its fixed reaction damage. Electro-Charged still supplies useful supplementary damage and aura behavior, but ordinary teams rarely choose it as their sole win condition. Lunar-Charged now provides a much stronger premium destination for the same elemental pair.
8. Frozen — Medium
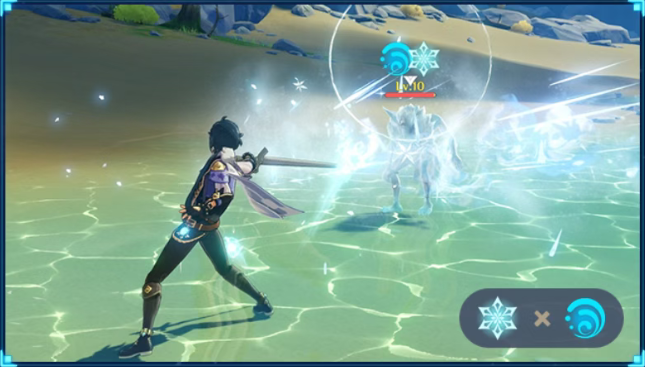
Frozen combines Hydro and Cryo to immobilize eligible enemies without dealing direct reaction damage. Against groups that can be frozen, this is one of the game's most comfortable forms of control. Against bosses and freeze-resistant enemies, the reaction may contribute almost nothing by itself.
Blizzard Strayer supplies much of the archetype's historical strength through a large CRIT Rate bonus under the right conditions. Escoffier later improved Hydro–Cryo teams through specialized support and resistance reduction. Freeze therefore remains viable, but its value changes sharply with enemy immunity and artifact uptime.
9. Shattered — Low
Shattered is triggered when a Frozen target receives a blunt attack, including suitable Geo hits. It deals transformative Physical damage and ends the Frozen state. The reaction requires an enemy that can be frozen, already excluding many bosses, and then removes the control effect that made Frozen attractive.
Its base multiplier does not compensate for those restrictions, and Physical reaction damage has limited avenues for team amplification. Shattered is currently the weakest category on this list: it is difficult to trigger where damage matters, weak when it does trigger and supported by almost no dedicated team structure.
10. Bloom, Hyperbloom and Burgeon — Medium
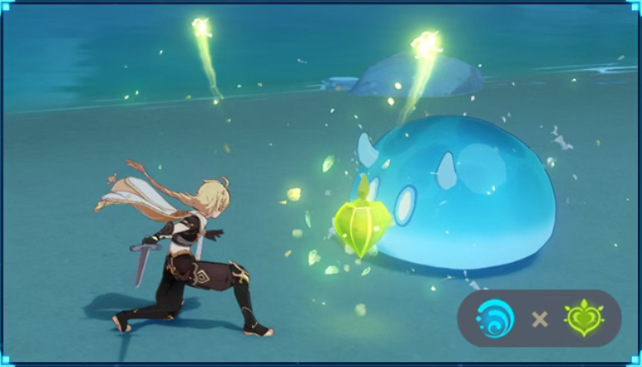
Hydro and Dendro create Bloom and produce Dendro Cores. Electro converts those cores into Hyperbloom projectiles, while Pyro triggers Burgeon explosions. These reactions arrived with Sumeru and offered some of the game's most accessible damage because a levelled trigger with high Elemental Mastery could perform well without premium CRIT statistics.
Nahida, dedicated artifact sets and reliable off-field applicators keep the family functional. Hyperbloom remains especially easy to use, while Burgeon offers area damage with stricter application requirements. The category falls to medium only because newer teams now reach higher ceilings; it remains an excellent solution for newer or lower-investment accounts.
11. Quicken, Aggravate and Spread — Medium
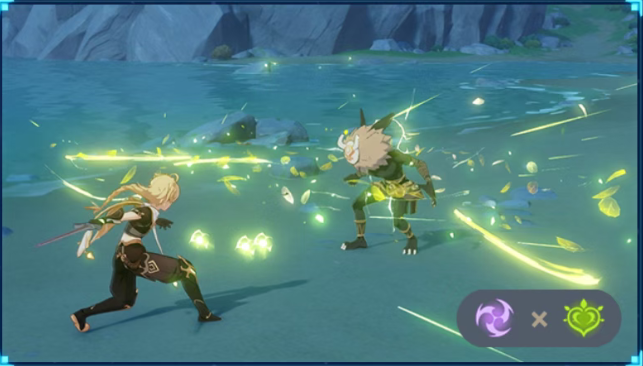
Dendro and Electro place enemies in a Quicken state. Subsequent Electro attacks trigger Aggravate, while Dendro attacks trigger Spread, adding a reaction-based bonus that still benefits from the triggering attack's DMG Bonus and CRIT. This creates a productive mix of Elemental Mastery, conventional offensive stats and frequent application.
Tighnari and Alhaitham are well-known users, while many Electro characters benefit from Aggravate. The reactions are mechanically healthy and still strong with good teams. Their medium rating reflects relative Version 7.0 power rather than a broken design: newer Lunar and Stellar lineups simply receive more current support and higher numbers.
12. Burning — Low
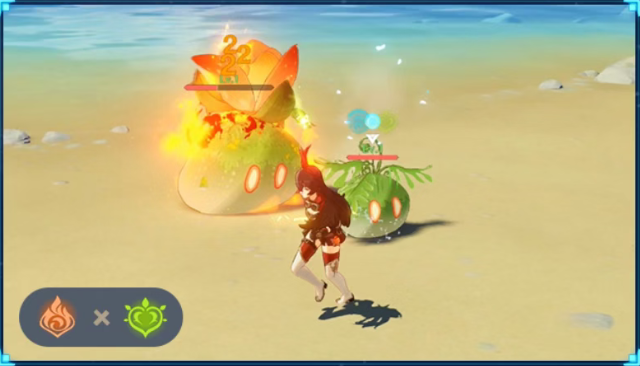
Burning occurs between Dendro and Pyro and deals continuous Pyro damage. Although Dendro became playable in Version 3.0, Burning existed as an environmental interaction from the launch era. Its own damage is modest and can also threaten nearby active characters.
Kinich and Emilie give Burning a legitimate team context, but their kits mainly use the reaction as an enabling condition. The sustained Pyro application can help against enemies requiring repeated elemental hits or hit-count shields. Outside those situations and specialized teams, Burning itself remains low-value.
13. Lunar-Charged — High
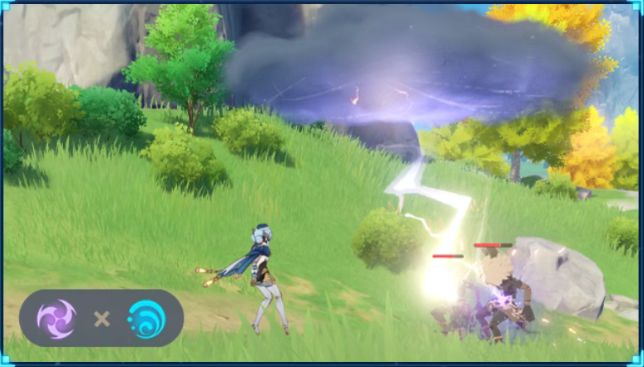
Lunar-Charged arrived with Ineffa in Version 5.8 and uses the familiar Hydro–Electro pairing through Nod-Krai's Lunar system. It includes direct and reaction-focused damage patterns, follows a different calculation structure from ordinary transformative reactions and allows Lunar reaction damage to CRIT.
The reaction has high multipliers, easy activation, dedicated artifacts, specialist supports and favorable interactions with current enemies. Flins, Ineffa and Columbina form a powerful core whose performance is much closer to a premium team engine than to traditional Electro-Charged. Its only major caution is roster dependence.
14. Lunar-Bloom — High
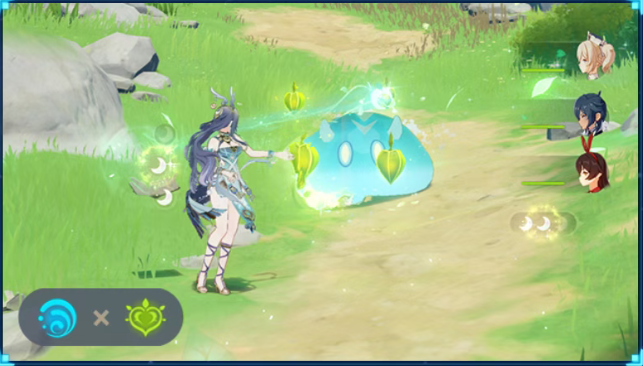
Lunar-Bloom uses Hydro and Dendro while adding a special resource layer to the original Bloom foundation. Its teams can generate moon-shaped Dendro Dew at set intervals, building resources for the reaction's dedicated characters rather than relying only on ordinary Dendro Cores.
Lauma provides specialized support and Nefer serves as the leading on-field damage dealer. Once the full core is assembled, the team produces excellent burst damage. The tradeoff is cost and execution: an incomplete Lunar-Bloom roster does not automatically match its showcase ceiling, and rotations matter at lower investment.
15. Lunar-Crystallize — High
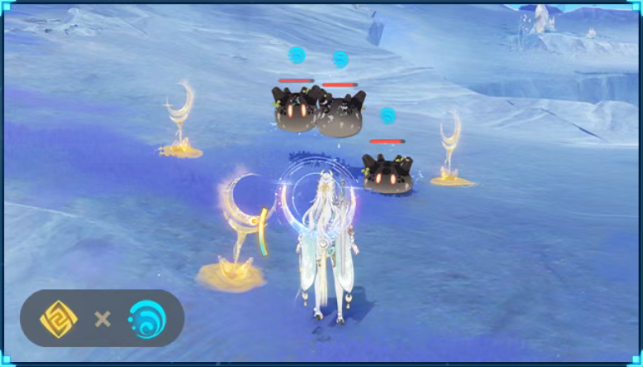
Lunar-Crystallize transforms the Hydro–Geo interaction into an offensive system for eligible Nod-Krai characters. It creates nearby Moondrifts treated as Geo constructs; after repeated triggers, those constructs attack enemies with Geo damage capable of landing critical hits.
Zibai and the dedicated Lunar-Crystallize roster turn a historically defensive interaction into a real damage engine. Like the other Lunar branches, it rewards team completeness and current-version investment. Its high rating belongs to the finished archetype, not to ordinary Crystallize teams without the required characters.
16. Stellar-Superconduct — High
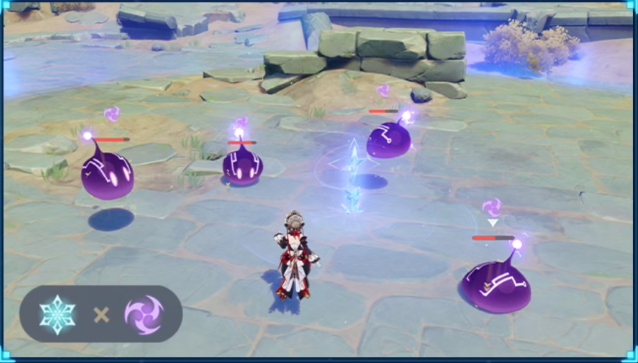
Stellar-Superconduct is activated when eligible Stellar Wedge characters interact with the Cryo–Electro pairing. Rather than repeating old Superconduct's narrow Physical support, it creates a field that strengthens Cryo and Electro damage while unlocking character-specific enhancements.
Sandrone acts as the main carry, Odette adds off-field damage and support, and older characters such as Yae Miko have received new relevance around the archetype. As one of Snezhnaya's promoted systems, it has current enemies, characters and scaling behind it. The gap from ordinary Superconduct is enormous.
17. Stellar-Swirl — High
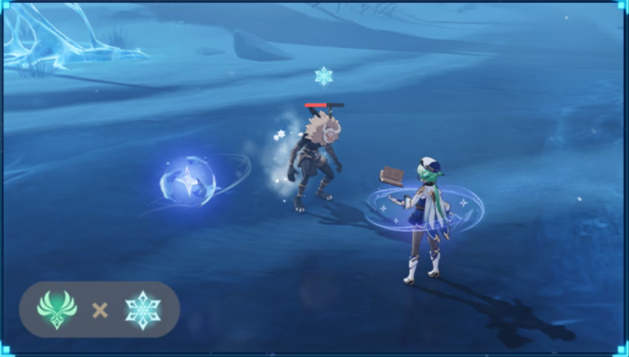
Stellar-Swirl is another Stellar Wedge-exclusive reaction, currently associated with Anemo and Cryo. It creates a vortex that can be detonated while applying additional character-specific benefits. This makes the reaction more than a renamed instance of ordinary Swirl.
Mizuki's related enhancements have already allowed her to enter Spiral Abyss and even Stygian Onslaught lineups under favorable conditions. Vesna and Voyanissa are expected to define the fuller Version 7.1 structure, so the exact top team is still developing. Even now, the reaction's supported ceiling justifies a high rating.
Why the Strength Gap Is So Large
The list reveals a clear pattern, but “newer always means stronger” is only part of the answer. Vaporize and Melt remain high despite being launch reactions because they multiply strong character hits and have years of compatible units. Overloaded became strong only after Chevreuse and better Pyro–Electro characters gave it a coherent roster.
At the bottom, Crystallize, Superconduct, Shattered and Burning suffer from low direct value, weak dedicated support or narrow practical conditions. The newer Lunar and Stellar systems launch as complete products: they arrive with eligible characters, artifacts, tailored teammates, critical scaling and favorable content. Their advantage is systemic investment, not merely a newer name.
For players, the best reaction is the one supported by a complete roster. Hyperbloom can outperform Lunar-Charged on an account missing its premium core, while a mature Melt team can remain better than an unfinished Stellar lineup. Build around available teammates and realistic rotations before chasing the reaction with the highest theoretical rating.
FAQ
How many elemental reactions are in Genshin Impact Version 7.0?
This article uses 17 practical categories by grouping Bloom with Hyperbloom and Burgeon, and grouping Quicken with Aggravate and Spread. Counting every named branch separately produces a different total.
What are the strongest reactions in Version 7.0?
Vaporize, Melt, modern Overloaded teams, the three Lunar branches, Stellar-Superconduct and Stellar-Swirl occupy the high tier in this assessment.
What is the weakest elemental reaction?
Shattered is the weakest overall because it requires a Frozen target, fails against many bosses, removes Freeze and deals limited Physical reaction damage.
Are Lunar reactions always stronger than classic reactions?
No. Their complete premium teams have very high ceilings, but they depend on eligible characters and dedicated teammates. A complete classic team can easily outperform an incomplete Lunar lineup.
Is Hyperbloom still worth building?
Yes. Hyperbloom remains one of the most efficient low-investment reactions, especially for newer accounts. Its medium rating reflects comparison with newer high-ceiling teams, not an inability to clear endgame content.
Where can players prepare Genesis Crystals for reaction-team characters?
Players who decide to supplement their saved Primogems can use Topuplist and its Genshin Impact recharge page. Spending is optional, and completing an existing reaction core is usually more efficient than starting several unfinished teams.
